CNMI Vendor Self Service (VSS)
CNMI Department of Finance has created a Vendor portal called Vendor Self Service (VSS). Registering for this portal will allow you, the vendor, to have access to Purchase Order, Contract, Bid, Invoice and Check information. To register for the portal you will need:
- A valid email address
- If you have previously done business with CNMI, you will also need your Vendor Number. This was sent to you in an informational letter outlining what Vendor Self Service is. If you need assistance with your vendor number, contact Department of Finance at apvendorsupport@dof.gov.mp
- Your tax ID number, either your CNMI Tax ID (in format XX-XXXXXXX) or Social Security Number (in format XXX-XX-XXXX)
How To Register for VSS
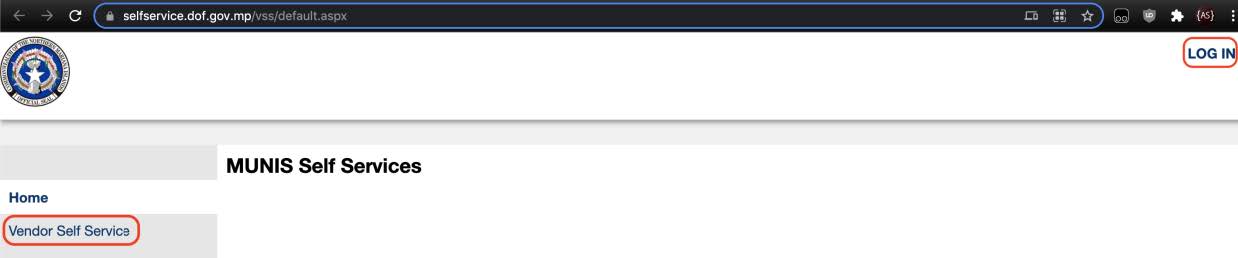
- Browse to https://selfservice.dof.gov.mp/vss/default.aspx
- Click the Log In link in the upper right corner of the browser
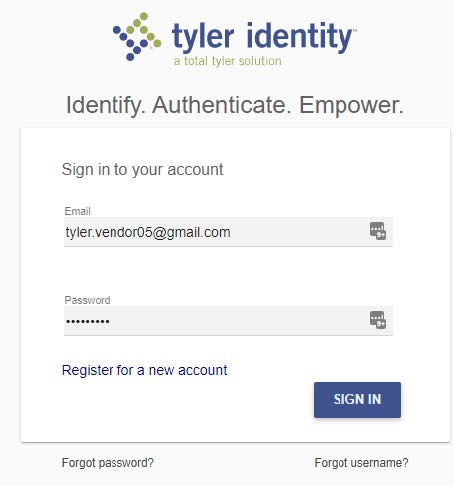
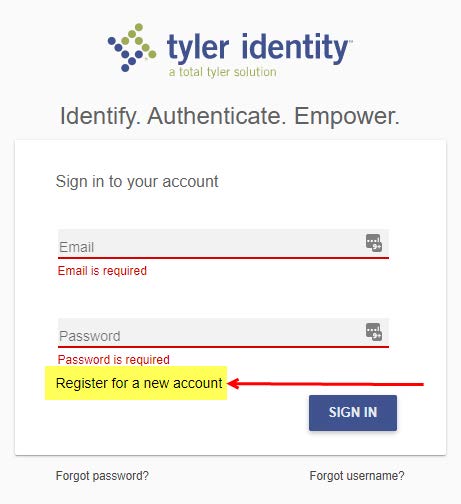
- The Tyler Identity login screen displays
- Click the Register for a new account link just above the Sign In button
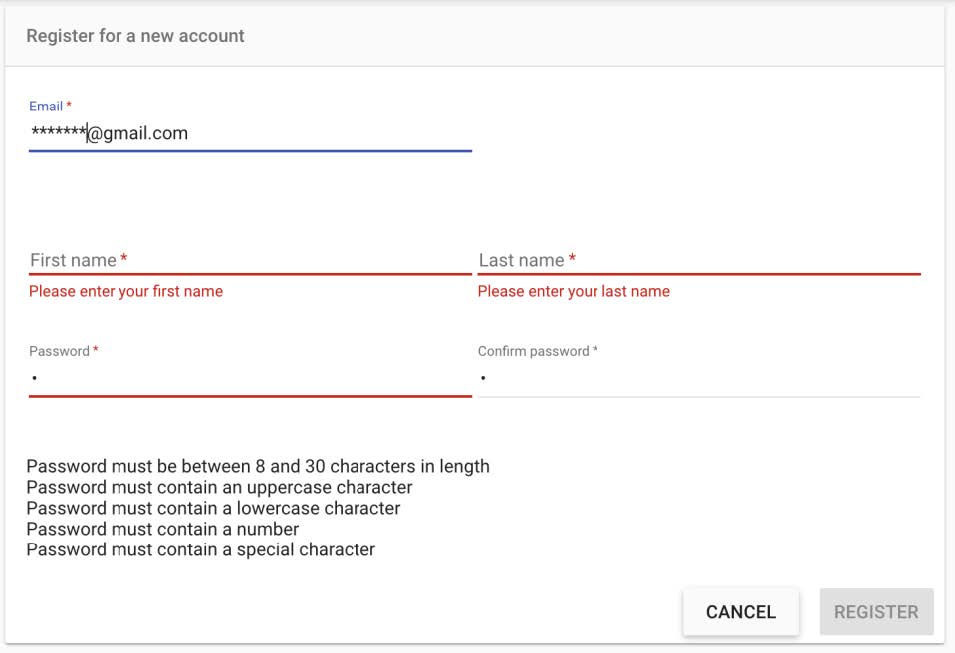
- The User Self-Service registration form displays
- Input email address, First Name, Last Name, and Password
- Note that the password must be between 8 and 32 characters
- The password must also contain an uppercase character, a lowercase character, and a special character
- Click the Register button
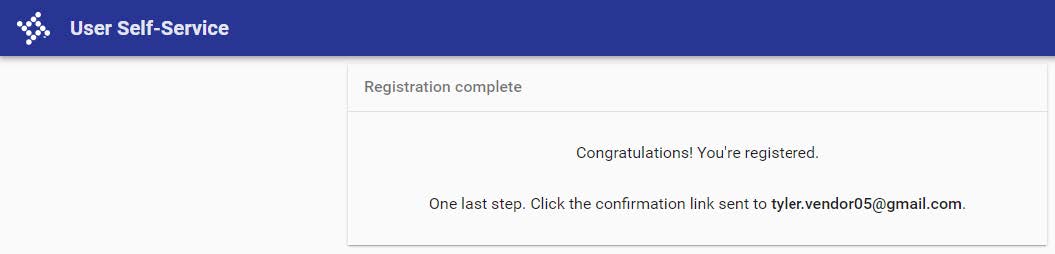
- A confirmation message appears
- Log into the email account you used to register. You will see a confirmation email informing you that you created a Tyler Identity account.
- Click on the link to confirm the email address.
- The User Self-Service Email Confirmation screen displays
- Click the Sign in to Vendor Portal link
- Use your email address and password to sign into the vendor portal
- You will be presented with a terms and conditions dialog box. Click Yes to agree to the terms.
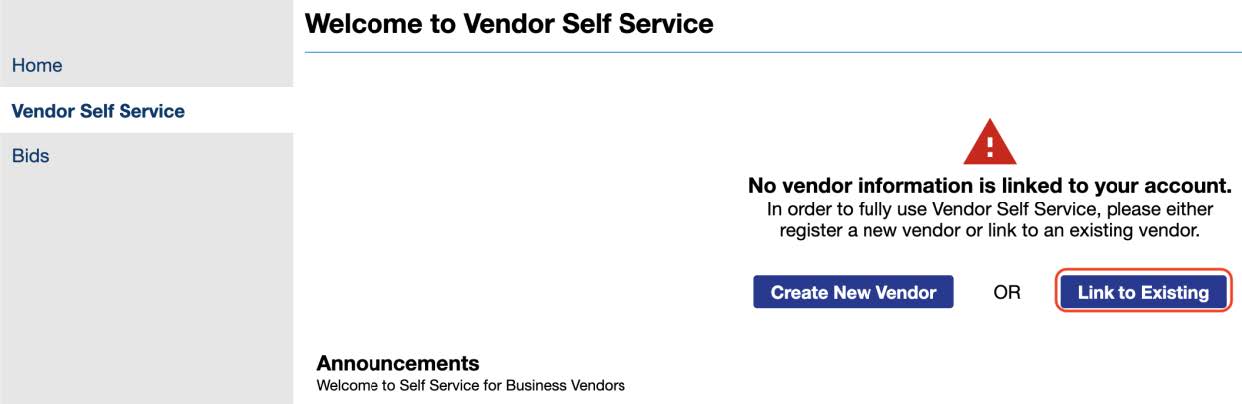
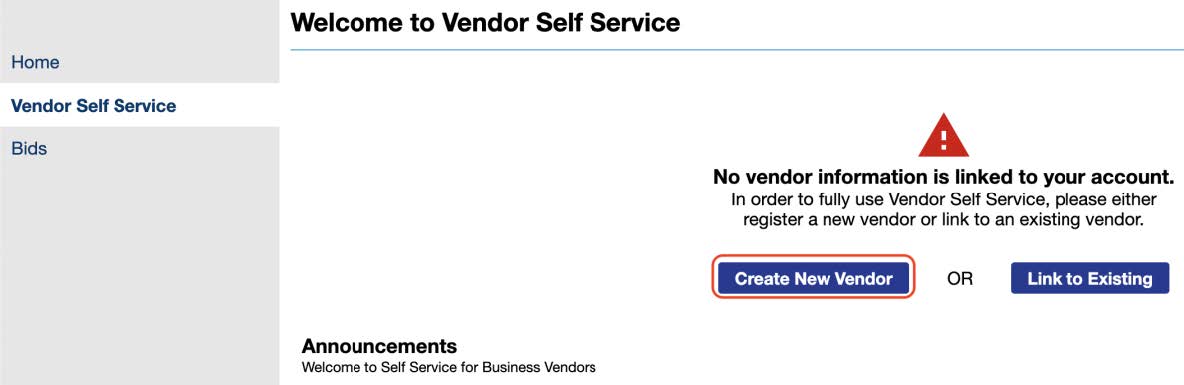
- You will be presented with the Welcome to Vendor Self Service screen. You will need to either connect your new Tyler Identity account with your existing vendor record or create a new vendor record.
- At the Welcome to Vendor Self Service screen (below) you will be presented with two options: “Create New Vendor” or “Link to Existing”. If you received a letter from the Department of Finance, please use that vendor number and its associated TAX ID to link to your existing vendor record. If you did not receive a letter, please click “Create New Vendor”. (If you have done business with the government in the past and did not receive a letter, please call the Department of Finance to inquire whether you have a vendor record or not before creating a new vendor)
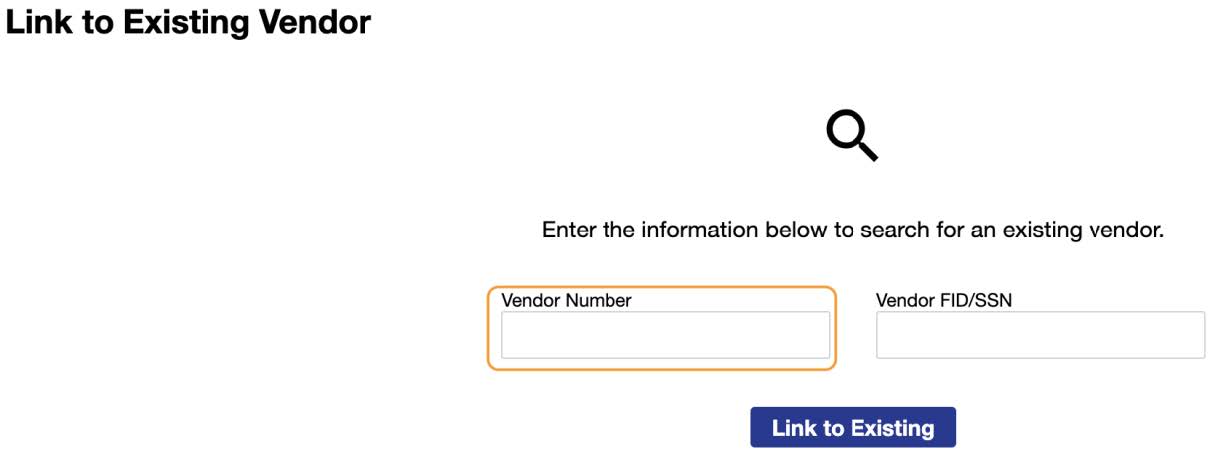
- Click the Link to Existing button. If your linkage is successful, you will be in the Vendor record. Fill out all appropriate fields and submit.
- If you do not have the Vendor ID then click on Create New Vendor.
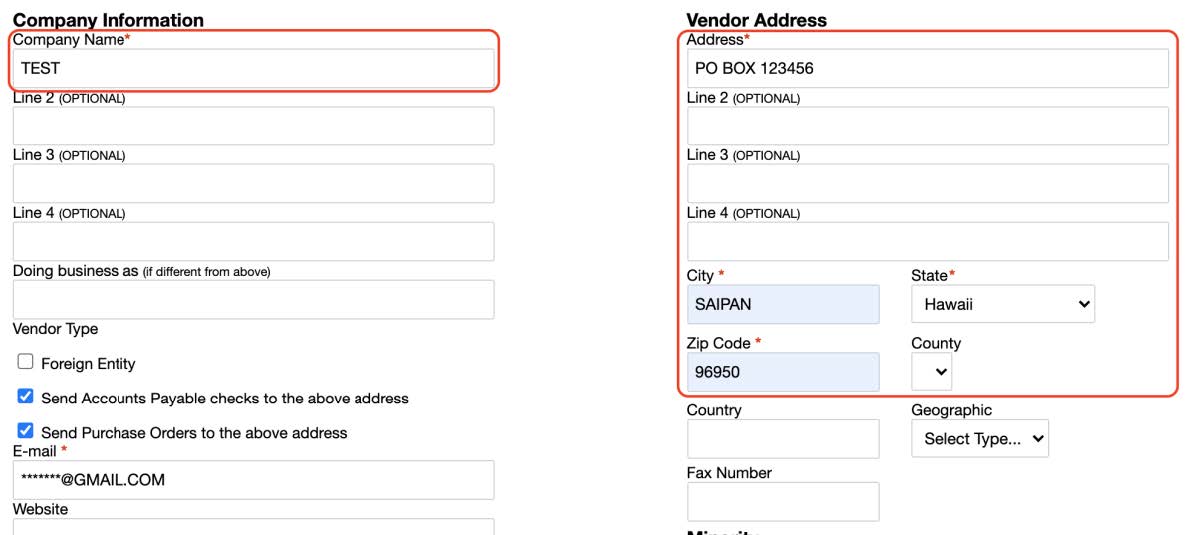
- Then fill out the business contact info like the (Company name, Address, and email). You also have the option to indicate whether you want the payable checks and the POs to be sent to the address. ***NOTE: Please use HI for your state, this will be changed to MP in our system. ***
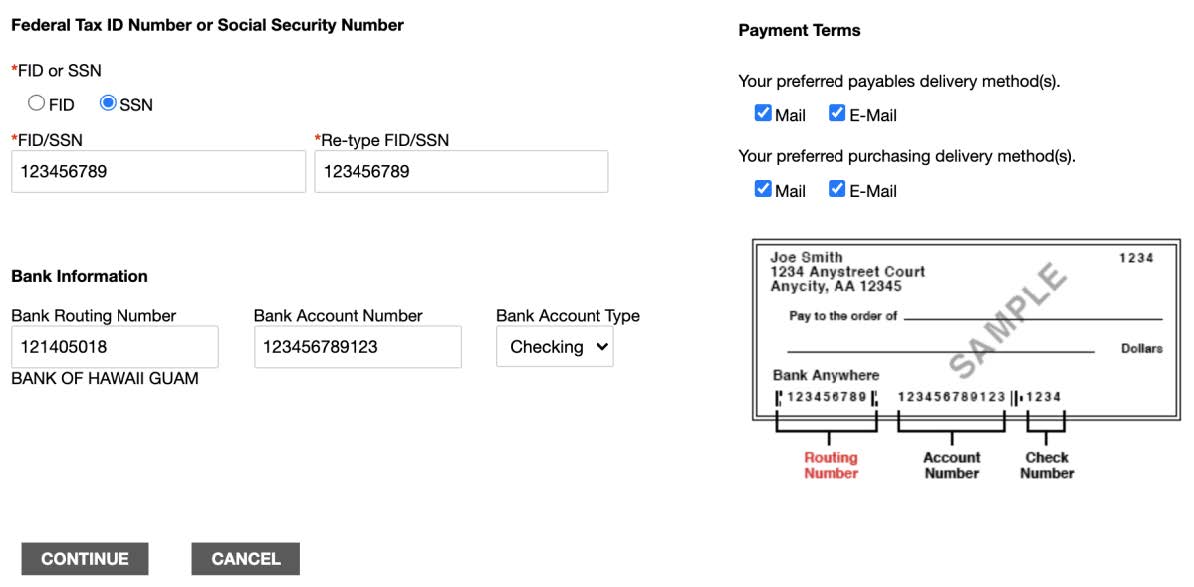
- Further down you then need to enter either your Federal ID or Social Security Number. Whichever is on the business license will work fine. You also have the option to set up direct deposit by including the bank information.
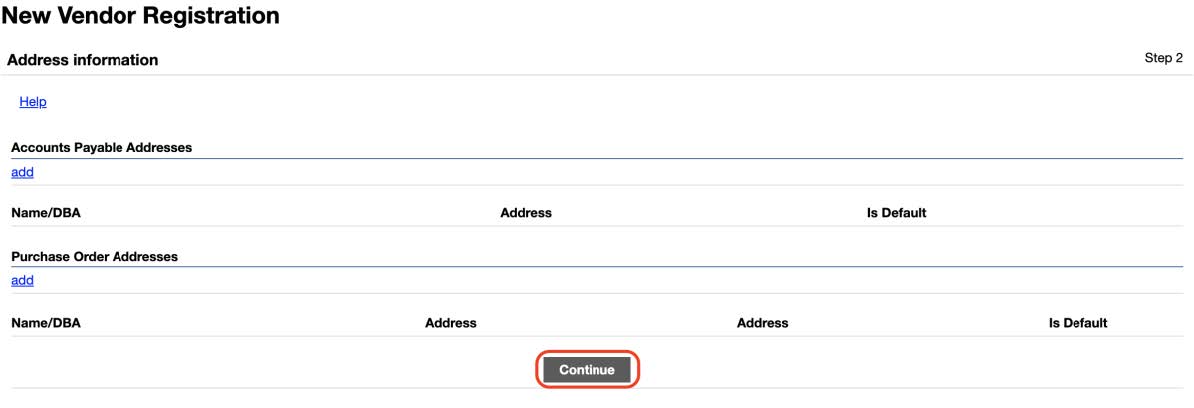
- If you don’t have a secondary business connected then you can click continue.
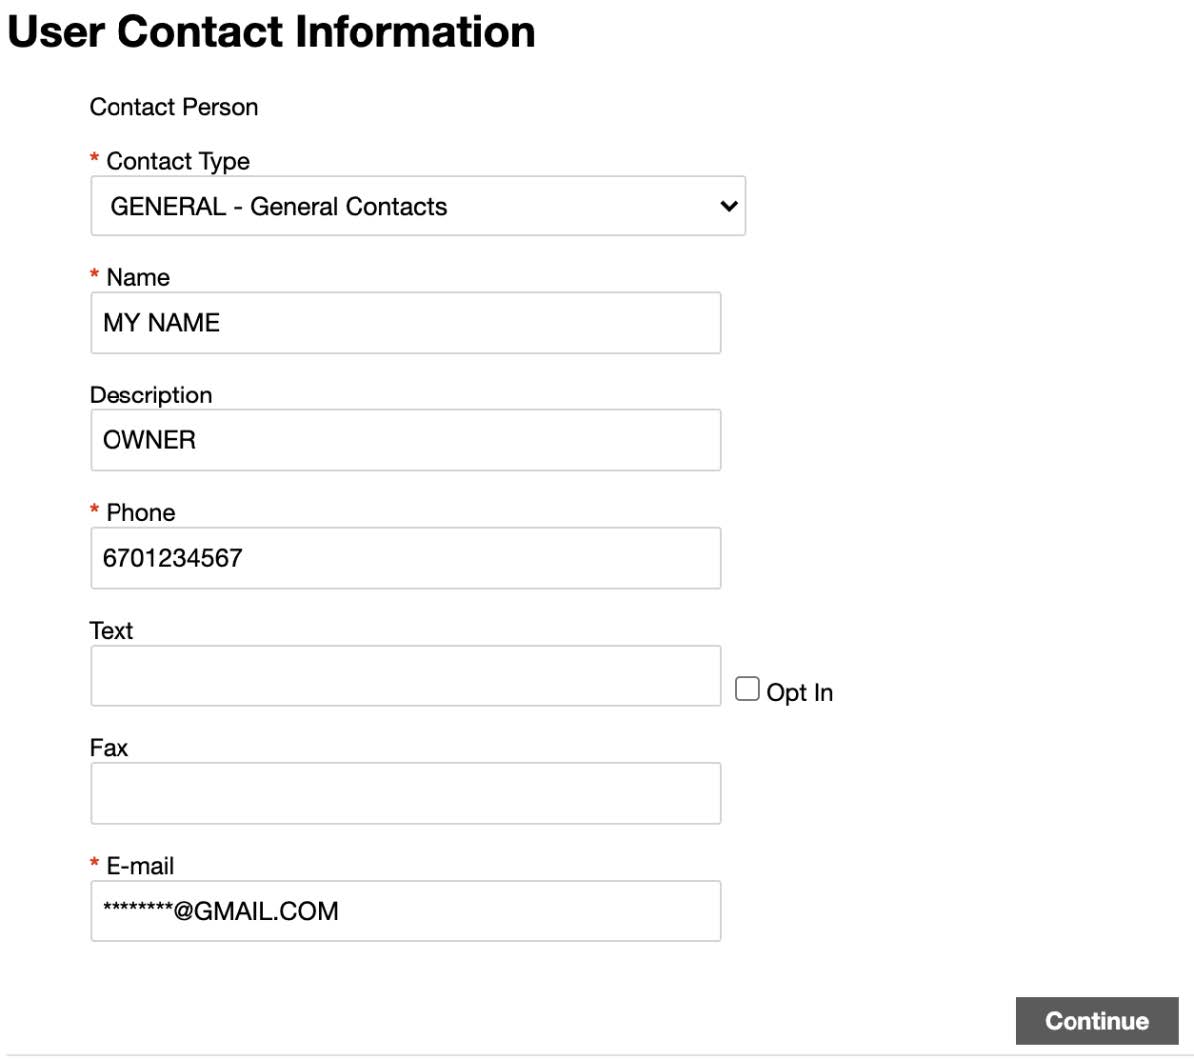
- Add the information to whoever you feel would be a good point of contact for the business.
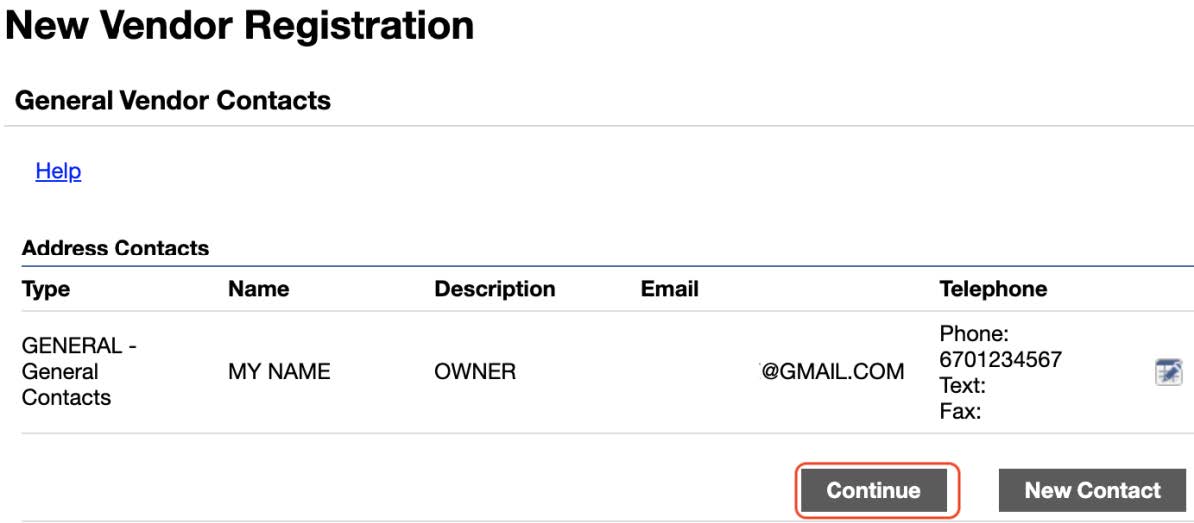
- You can add more contacts. Otherwise just click continue.
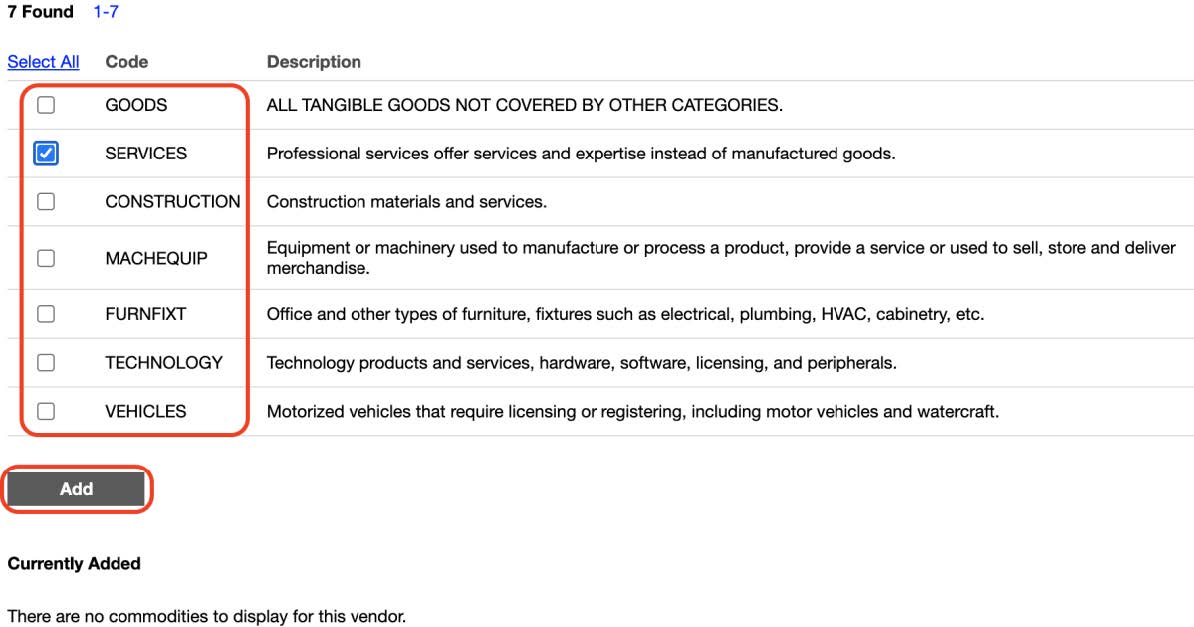
- Here you’re entering the business type. How should it be classified. For example, renting a house would qualify as a service. Select everyone that applies then click add.
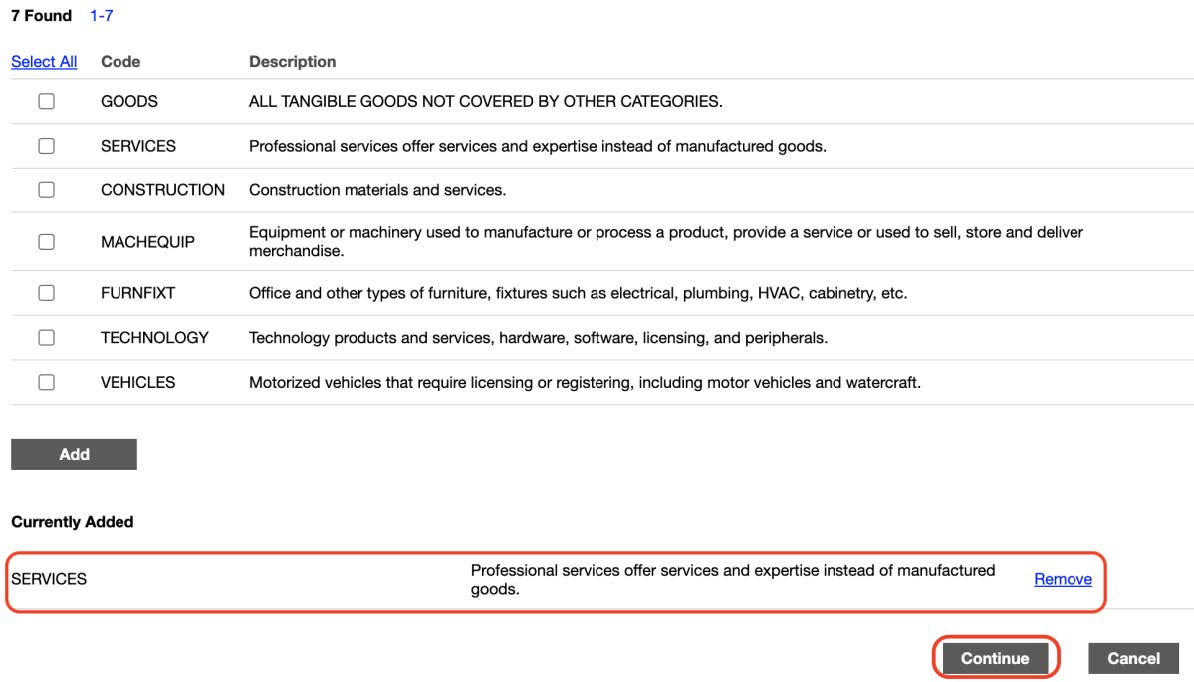
- After adding it will show the same page but with the selected choices shown below. Click continue.
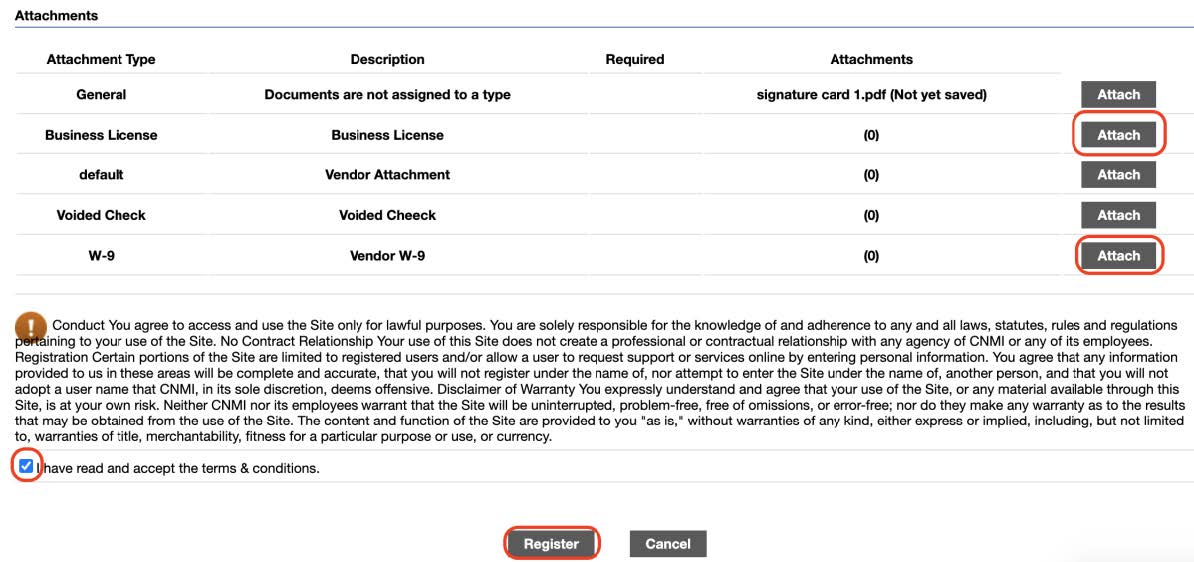
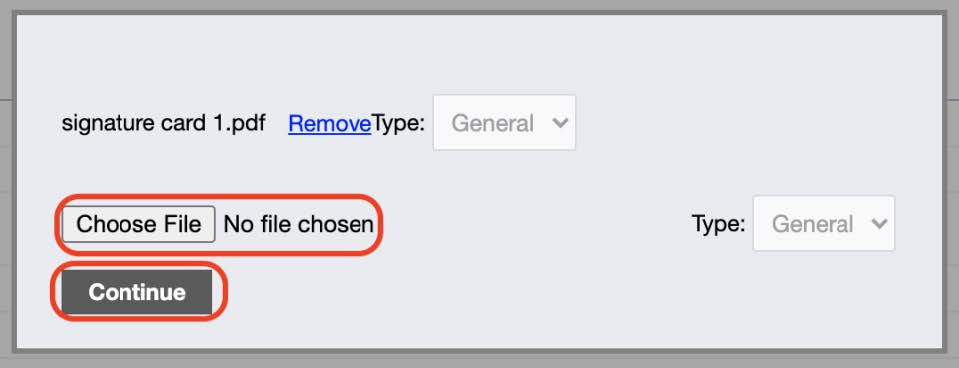
- Here you need to attach your Business License and W-9 form.
- When trying to attach the forms you need to convert them to pdfs. You can use a website like https://jpg2pdf.com/ to do so.